

You’ve just bought a new camera to immortalize your travel memories? But you don’t really know how to set it up? This post is for you! Today we will help you to set up your camera and start to shoot! We will explain to you all the basic information you need to start travel photography. Here are the different steps to follow. You will be ready really soon to create awesome pics! You can also read our post about “how to take great couple photos while you travel!”
How to set up a camera and start to shoot
1. Get familiar with the different modes
You first need to learn how to shoot in manual mode (M), aperture priority (A), shutter priority (S), and automatic, also called program (P). These modes are shooting modes. They allow you creative flexibility by enabling more control over shutter speed and f-stop settings. Everyone started to shoot in automatic mode and I advise you to also start with this one. But if you want to take your photos to the next level, you definitely need to learn how to shoot in manual mode!
P (Program shooting)
This mode allows shooting using an aperture and a shutter speed set by the camera. This is the automatic mode. It is great to start photography but you will quickly want to learn how to shoot with the other modes and have more control over the aperture, speed, and exposure!
A (Aperture Priority shooting)
This mode allows you to set manually the aperture, which is the quantity of light that will enter into the camera. The more it is open, the more light will enter. This gives the photographer control over depth-of-field. If you want to have a bokeh (which is a blurred background), you need to open the aperture.
The aperture is the only parameter that is changed. The camera compensates for the exposure by changing the shutter speed automatically as the f-stops are changed. If the shutter speed/aperture combination will result in under- or overexposure, the exposure values in the viewfinder and on the Control Panel screen will blink.
S (Shutter Priority shooting)
The shutter priority mode allows the photographer to set the shutter speed manually. This gives you control over stopping action or reducing camera shake. If you are shooting an object in action, the shutter priority mode is perfect. This can be an animal, a person dancing, running and so on.
The camera compensates for the exposure by changing the aperture automatically as the shutter speeds are changed. If the shutter speed/aperture combination will result in under- or overexposure, the exposure values in the viewfinder and Control Panel screen will blink.
M (Manual shooting)
The manual mode allows you to set the shutter speed, aperture, and ISO independently. These three settings work together to control how bright or dark your photo is as to how shaped it is. The manual mode is going to give you more control over the look of your photos.
Once you get to understand how the modes work, you need to understand how and when to use them and what is the exposure triangle.
2. Get familiar with the exposure triangle
You will ask me what is the exposure triangle? This is the relationship between your ISO, shutter speed and aperture. These three components work together to create an actual exposure or photograph. It is referred to as the exposure triangle because when you adjust one element, another element MUST change to capture the same exposure.
Aperture
By manually controlling aperture you’ll have more control over the depth of field in your image. This means how much of the image is in sharp focus. This can be super helpful when taking portraits. A large aperture (smaller f/number) will help you create shallower depths of field, which can massively help your subject to stand out from the background and help to create a bokeh!
On the other hand, you might want to select a smaller aperture (bigger f/number) if you want more of your photo in focus. This can be useful for many situations, like in landscape photography where you want to capture both foreground and background in reasonably sharp focus. Shooting in manual mode will help you make the choice based on what result you want!
Shutter speed
Low shutter speed
As for shutter speed, being able to control it can help you capture motion in more creative ways. By selecting slower shutter speeds you can capture shots where your subject shows some motion blur. Think about those awesome nighttime city shots of cars making trails of light, or waterfalls with smooth flowing water. This is called long exposure shots. Slow shutter speeds are what let you capture that!
Fast shutter speed
Or maybe you want to completely capture and freeze some kind of action, like a child jumping in midair or a bird flying. Using a fast shutter speed will help you to capture that instant in time. On the contrary, using a low shutter speed will help you to capture the movement on the photo. Being able to choose your shutter speed let you decide just how you want movement to be portrayed in your image: shaped or blurred.

ISO (exposure)
Sometimes, you will need to have more control over the brightness of a photo by manually adjusting shutter speed, aperture, and ISO. Here are several examples where you will need to adjust the ISO.
Night photography
You will need to increase the ISO to be able to shoot by night and capture the light in your photos. But if you are increasing the ISO too much, you will lose on quality and have much grain on the photo. You need to find the right balance between increasing the ISO and decreasing the shutter speed. If you are reducing the shutter speed, more light will enter into the captor. But you will need a tripod to take photos by night because the exposure is low and you need to don’t move at all. You can also read our post about “10 tips to improve your photos“
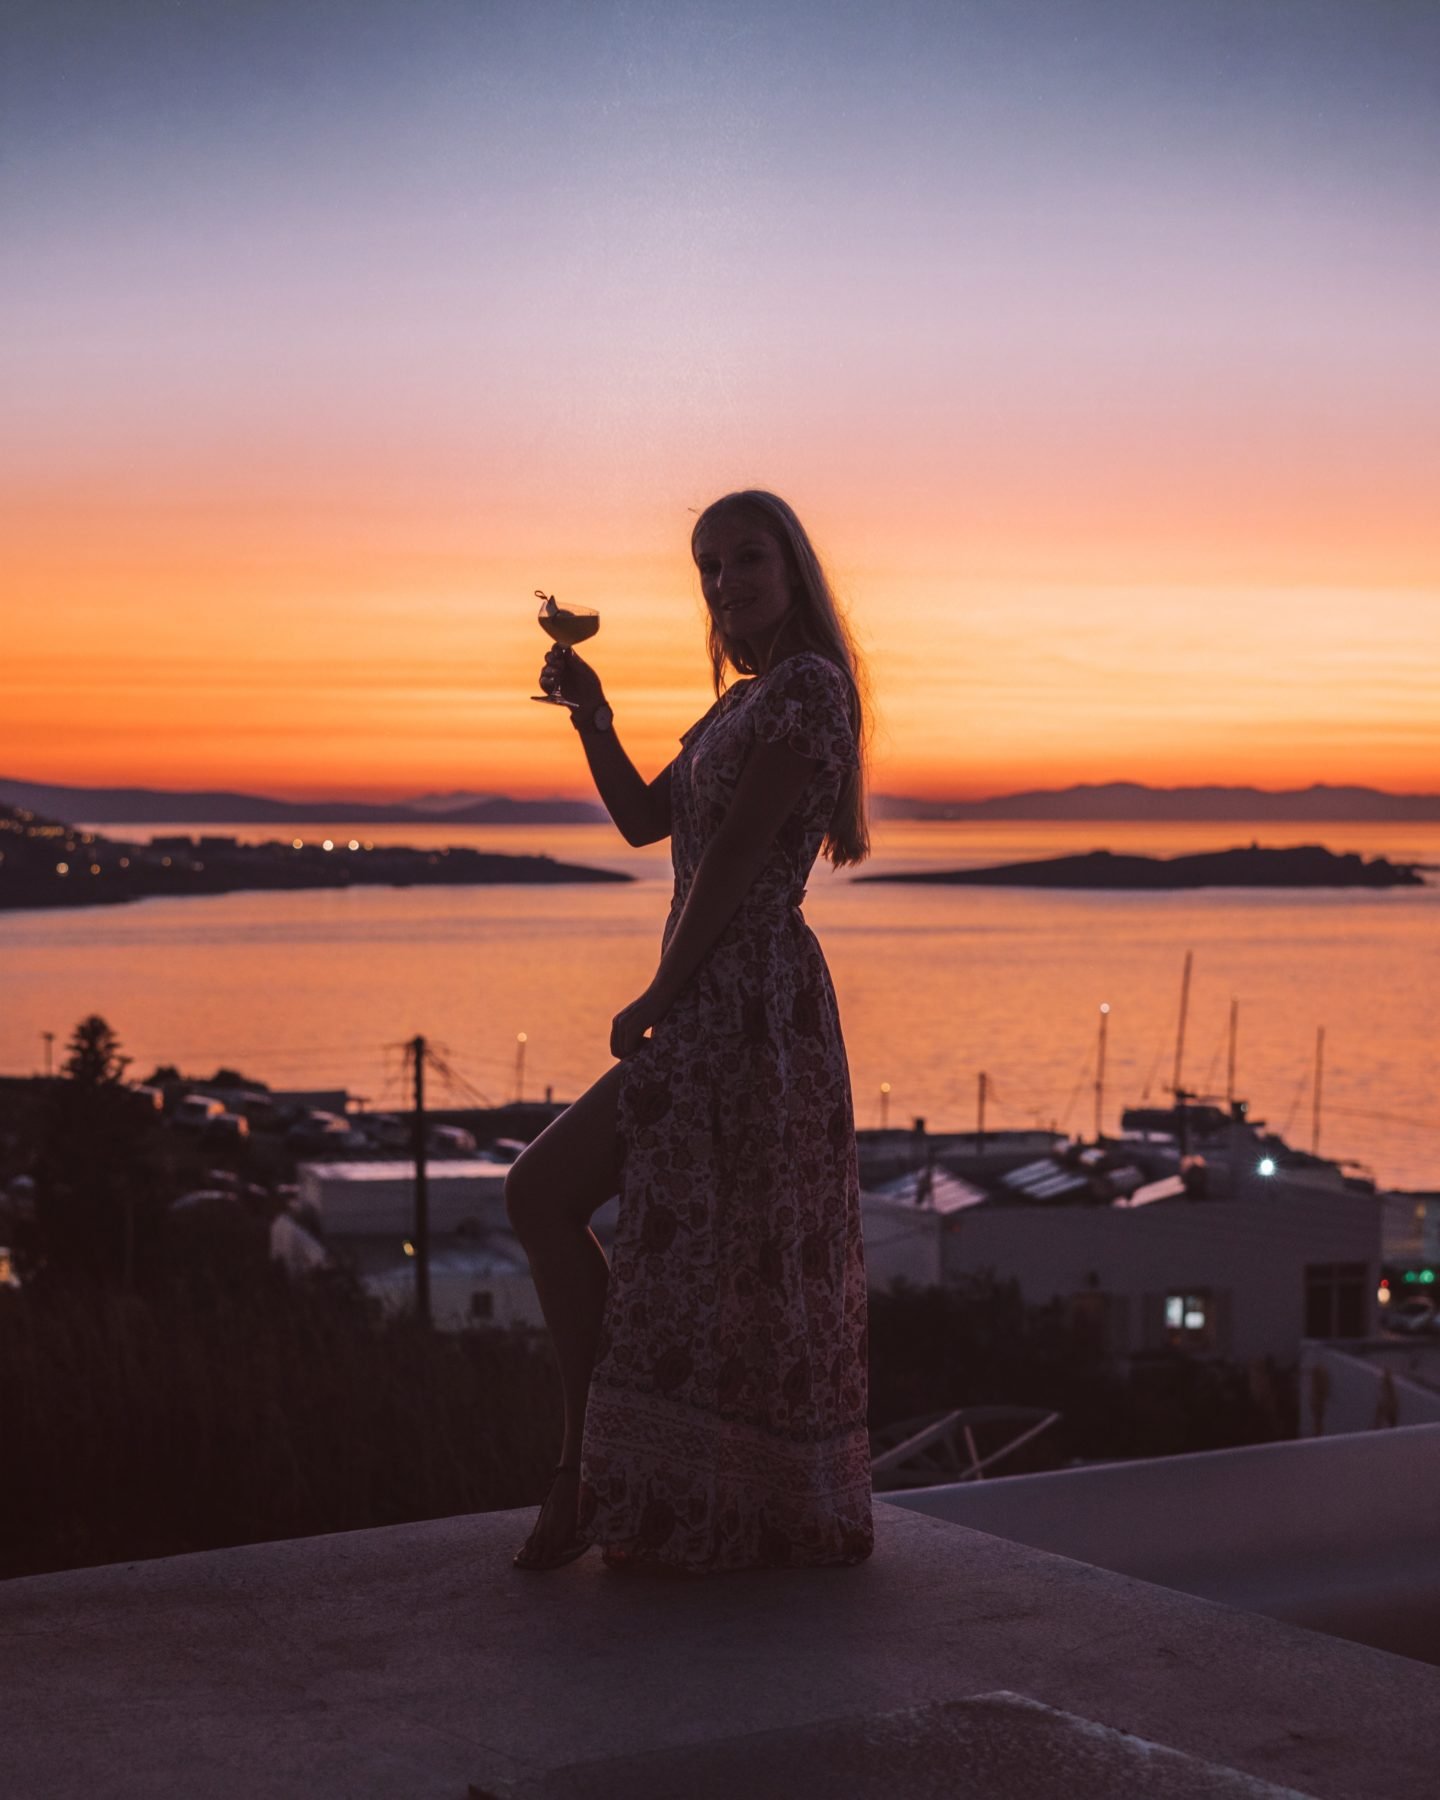
Sunset shots
You can create a silhouette like this photo at the right. You need to have your subject standing in front of a bright background, and then deliberately underexposing your subject so that they appear quite dark.
Star photography
In this case, you will also need a tripod to not move. You will typically need to shoot with a large aperture (small f/number), have the shutter open for a long time (10-30 seconds), and shoot at a higher ISO.
These are different scenarios are each requiring a specific approach to choosing your settings in order to get the look you want. But they are not the only scenarios where you will need to control the exposure. The brightness of your photo is a personal preference and an artistic choice. Being able to choose the exposure in your image is a big part of getting your message across!
3. Shoot in RAW
What is RAW? It is a file format that captures all image data recorded by the sensor when you take a photo. When shooting in a format like JPEG image information is compressed and lost. Because no information is compressed with RAW you’re able to produce higher quality images, as well as correct problem images that would be unrecoverable if shot in the JPEG format.
Also, if you are post-producing your JPEG photos with lightroom or photoshp you will really lose on the final quality of the photo. Shooting in RAW allows you to post product your photo or crop it and still have a great quality. You can also read our post about post-production and “How to edit photos on lightroom“.
So even if you’re using a little camera, you might still be able to take advantage of the RAW file format. If you want to learn how to set up your camera to take awesome photos set up your files on RAW. Just check your camera manual to see!
4. Set up the white balance


What is white balance?
Basically, white balance is how warm or cool the overall colors in your photograph look.
Your camera is good at reproducing color because it has the ability to analyze the scene and compensate for overly warm or cool colors.
Usually, colors in your photos will look pretty close to the way they looked in real life. However, your camera can easily be confused and can sometimes make the colors too warm or too cool.
The most obvious place to spot this problem is the parts of your scene that are, or should be, white. When you take a photo by candlelight, sometimes the whites will look kind of yellow or orange.
Use Automatic White Balance
Most cameras are using automatic mode which works pretty well.
Most cameras default to the “Auto” white balance setting, which actually works pretty well, most of the time. In the auto white balance mode, your camera will examine the scene you are trying to photograph and will choose a color temperature it thinks will work best.
However, you need to know that your camera can get confused if the scene: Doesn’t contain any colors which are white, or close to white. But also if the scene contains mostly one color (for example blue sea, white snow, or a forest with lots of greens). Or if the scene is illuminated by multiple light sources with different color temperatures.
These scenarios can result in the wrong color in your photo, and you will want to control the white balance.
Set Your White Balance Manually
For particular lighting situations like mixed lighting, you will have the best result if you set your white balance manually. You will still end up witha single color temperature being applied to the entire scene but the results will be really better.
In a general way, setting the white balance manually involves taking a photo in the same light of something white or almost white. Then, you will select the custom white balance mode and tell your camera to take this photo as a reference.
Here are the steps to follow to manually set the white balance! It’s similar to most of the cameras. But you should consult your camera’s user manual for the exact steps for your camera.
1. Take a photo of something white or almost white
Firstly, you need to take a photo of something white or almost white which is illuminated by the same light as your subject. This can be clothes, a wall, or a sheet of paper. Your camera will use this photo as a reference to set the white balance according to the scene.
2. Select the custom white balance mode
Then, you need to choose the custom white balance mode. Usually, you can find it in the camera’s menu. Scroll until you see “white balance” and press the “set” button.
3. Tell your camera to use the photo you took as a reference
Next, the last step is to tell your camera which photo to use as a reference. Search for “custom white balance” or ” custom WB” and press the “set” button.
Now, your camera is showing the last photo you took. Once it’s done, press the “set” button again.
Your camera will set up the white balance accordingly to this photo which is the reference for your future photos. Until you switch white balance mode or until you set up a new reference photo!
Set up your camera and start shooting!
To conclude, we hope this post about “how to set up a camera” will be helpful for you! And that you will be able to create amazing travel memories! If you have more questions feel free to ask in the comments! You can follow our adventures and see all our photos on Instagram! @chiarabarrasso @jelafaille

