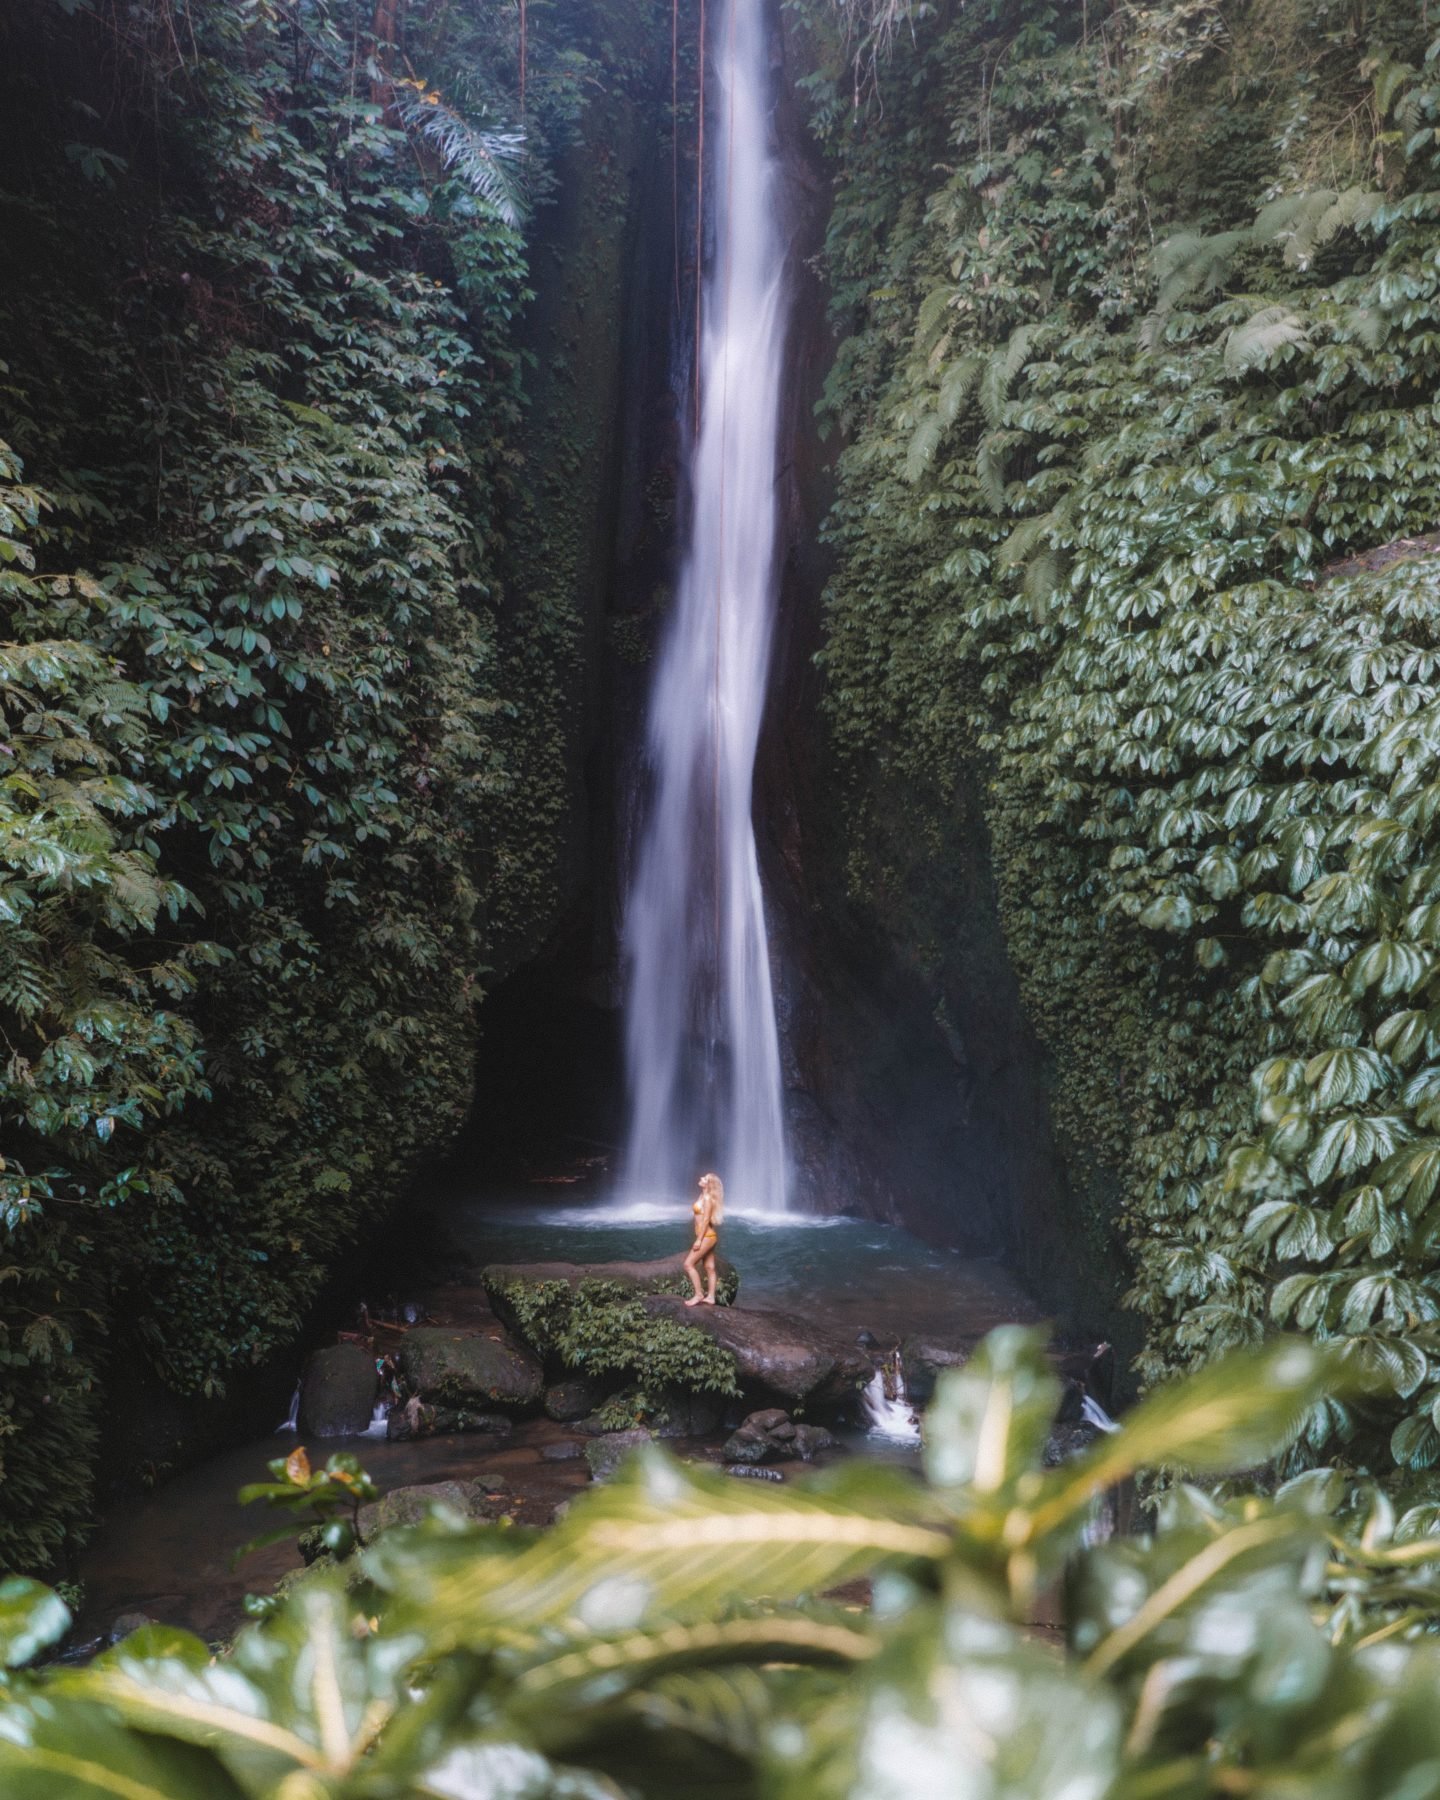

Do you love long exposure photography? And do you want to learn how to do it? This post is for you! Lately, we have been loving playing with our camera and take long exposure shots! Especially for landscapes photos, ocean, and waterfalls! Here you have two examples: the first photo is a long exposure and the second one has a quick shutter speed! Taking long exposure shots gives a smooth effect to the water. It’s also amazing for city shots by night if you want to create light trails! Here are a few tips to help you create long exposure shots!
Long exposure photography for beginners
1 Use a tripod
When you are taking long exposure shots, you will absolutely need a tripod. The main reason is that you will have to set up the shutter speed very low to make this smooth effect. So you need the camera to not move at all to not have a totally blurred photo. The only thing we want to be blurred and smooth is the water or the lights and not the whole photo!
2 Get ND filters
Also, if you want to take long-exposure shots during the day, you will need ND filters. They are used to reduce the amount of light that reaches the sensor by a certain amount of stops. If you don’t have ND filters, you won’t be able to reduce your shutter speed enough. Even at the lowest ISO and smaller aperture.
There are many different kinds of ND filters. But there are basically two types of filters: crew-in-filters and square filters using a filter holder. Each of them has its advantages and disadvantages. A 2-stop filter reduces the amount of light by 2 stops. This means that you have to multiply the needed exposure by 4.
When it comes to the ND filter itself, you can get them in many different strengths, usually going from 2-stop filters to 15-stop filters. A 2-stop filter reduces the amount of light by 2 stops, meaning you multiply the needed exposure time by 4. A 15-stop filter similarly reduces the amount of light by 15 stops, so increasing exposure time by 2 15.
3 Analyze the weather
A sunny afternoon is great for having a sunbath on the beach but not for taking long exposure shots! All photos should be taken with a soft light but more particularly long exposure shots! Indeed, to take a great long exposure shot, you need to have a sky with some clouds and the sun must be hidden or at least very soft.
4 Compose your shot
Long exposure photography is harder than taking a short exposure shot. You need to know that the final result will be totally different from what you can see with your own eyes. You have to think about a harmonious composition and imagine the movement of the sea, the water, the clouds or the lights on the final result. Indeed, you need to have in mind the photo before you create it. Try to focus on lines, textures, light, and shadow
Also, try to not include the sun in your shot because its movement will create an area of overexposure and it would be impossible to fix it in post-production. If it is not possible, wait for the sun to be hidden behind a cloud.
5 Focus on the subject
When you have composed the photo, you have to focus on the subject (a person, an animal). Don’t forget to do it because the subject could be blurred and the water or the lights would be shaped. If you are using manual mode, it’s perfect. If you are using the autofocus, make sure your camera will maintain the focus during the capture of the shot.
6 Set up the exposure
You have to set up your camera to manual mode or aperture priority. Indeed, as the shutter speed will be really low, much light will enter the camera. So you have to adjust the exposure to not have an overexposed shot. Next, you have to set the aperture to the best value according to the scene. For landscape shots, I can suggest between f/8 and f/10. First, take a test shot to see how it works. You need to adjust to find the best exposure. For that, click the histogram. When the test shot is a success, keep in mind the shutter speed you used for that shot. Read this post to learn “how to set up your camera in manual mode?“
To calculate the exposure time after the ND filter is really easy. You just have to double your exposure time as many times as your filter blocks stop. For example, for a 3 stop filter, you multiply by 8 (23), for a 10 stop filter by 1024 (210). Easy right?
7 Taking the shot
It’s finally time to take the shot! ISO should remain as low as possible and since you’re using a tripod that should be around 100. When you are using a 10 stop filter, or a filter dark enough to require a shutter speed of more than 30 seconds, set your shutter speed to “Bulb”. In a few words, Bulb mode keeps the shutter open as long as the trigger is pressed. This is why you want a shutter release. Pressing the camera trigger for minutes will lead to a blurry image. This means you can use as long of a shutter speed as you want, either it’s 1 second or 10 hours.
You are ready for long exposure photography!
You are now ready to take long exposure shots! Now, you can now nail city shots, ocean, or waterfalls shots! Don’t forget to read our post about “10 tips to improve your photos!” and follow our next adventures on Instagram @chiarabarrasso @jelafaille


Great Content. Thank you for sharing this.
Author
Thanks a lot Elton 🙂 have a great day!