
Hello FAM! Today’s let’s talk about photography, post-production and more precisely “how to edit your photos on lightroom“! I know that many of you want to improve your travel photos, and try to edit them on Lightroom! That will allow you to create amazing travel memories and impress your friends and family! But you need to know what is exactly lightroom? How does it work? What is the price? What is a Lightroom preset? Here are all the answers you need to start creating magic! 😉
What is Lightroom?
First of all, Lightroom is an Adobe software that allows us to post-product our photos in a professional way. This means you can improve your RAW photo and make it look how you want it. There are plenty of parameters you can change on Lightroom to improve your photo: the tones of the colors, the light, the contrast, the tints, the blacks, the shadows, or even the grain. Lightroom is made to help you create the photo you want.
Do I have to shoot in RAW or Jpeg?
You should always shoot in RAW files because the quality is much better and once you edit your photos, they will keep their quality. You can also read our post about “10 tips to improve your photos“. Of course, if you just want to edit a phone photo with a mobile preset this has no importance!
What is a Lightroom preset?
A “Lightroom preset” is actually a kind of photo filter created by a photographer to give a photo a special look. Usually, these presets are created by professional photographers or content creators. To create presets, photographers are changing the parameters, as we said precedently: the colors, contrast, whites, the light, the tones and so on. These changes make together a special look to a photo.
Every photographer has a different preset created by himself and this is what makes his photos uniques but looking great and homogenous together in a book, a magazine, a website, or an Instagram feed. To conclude, a Lightroom presets is a professional photo filter that you will apply to a photo to give it a special look and style: vintage, colorful, cinematic and so on!
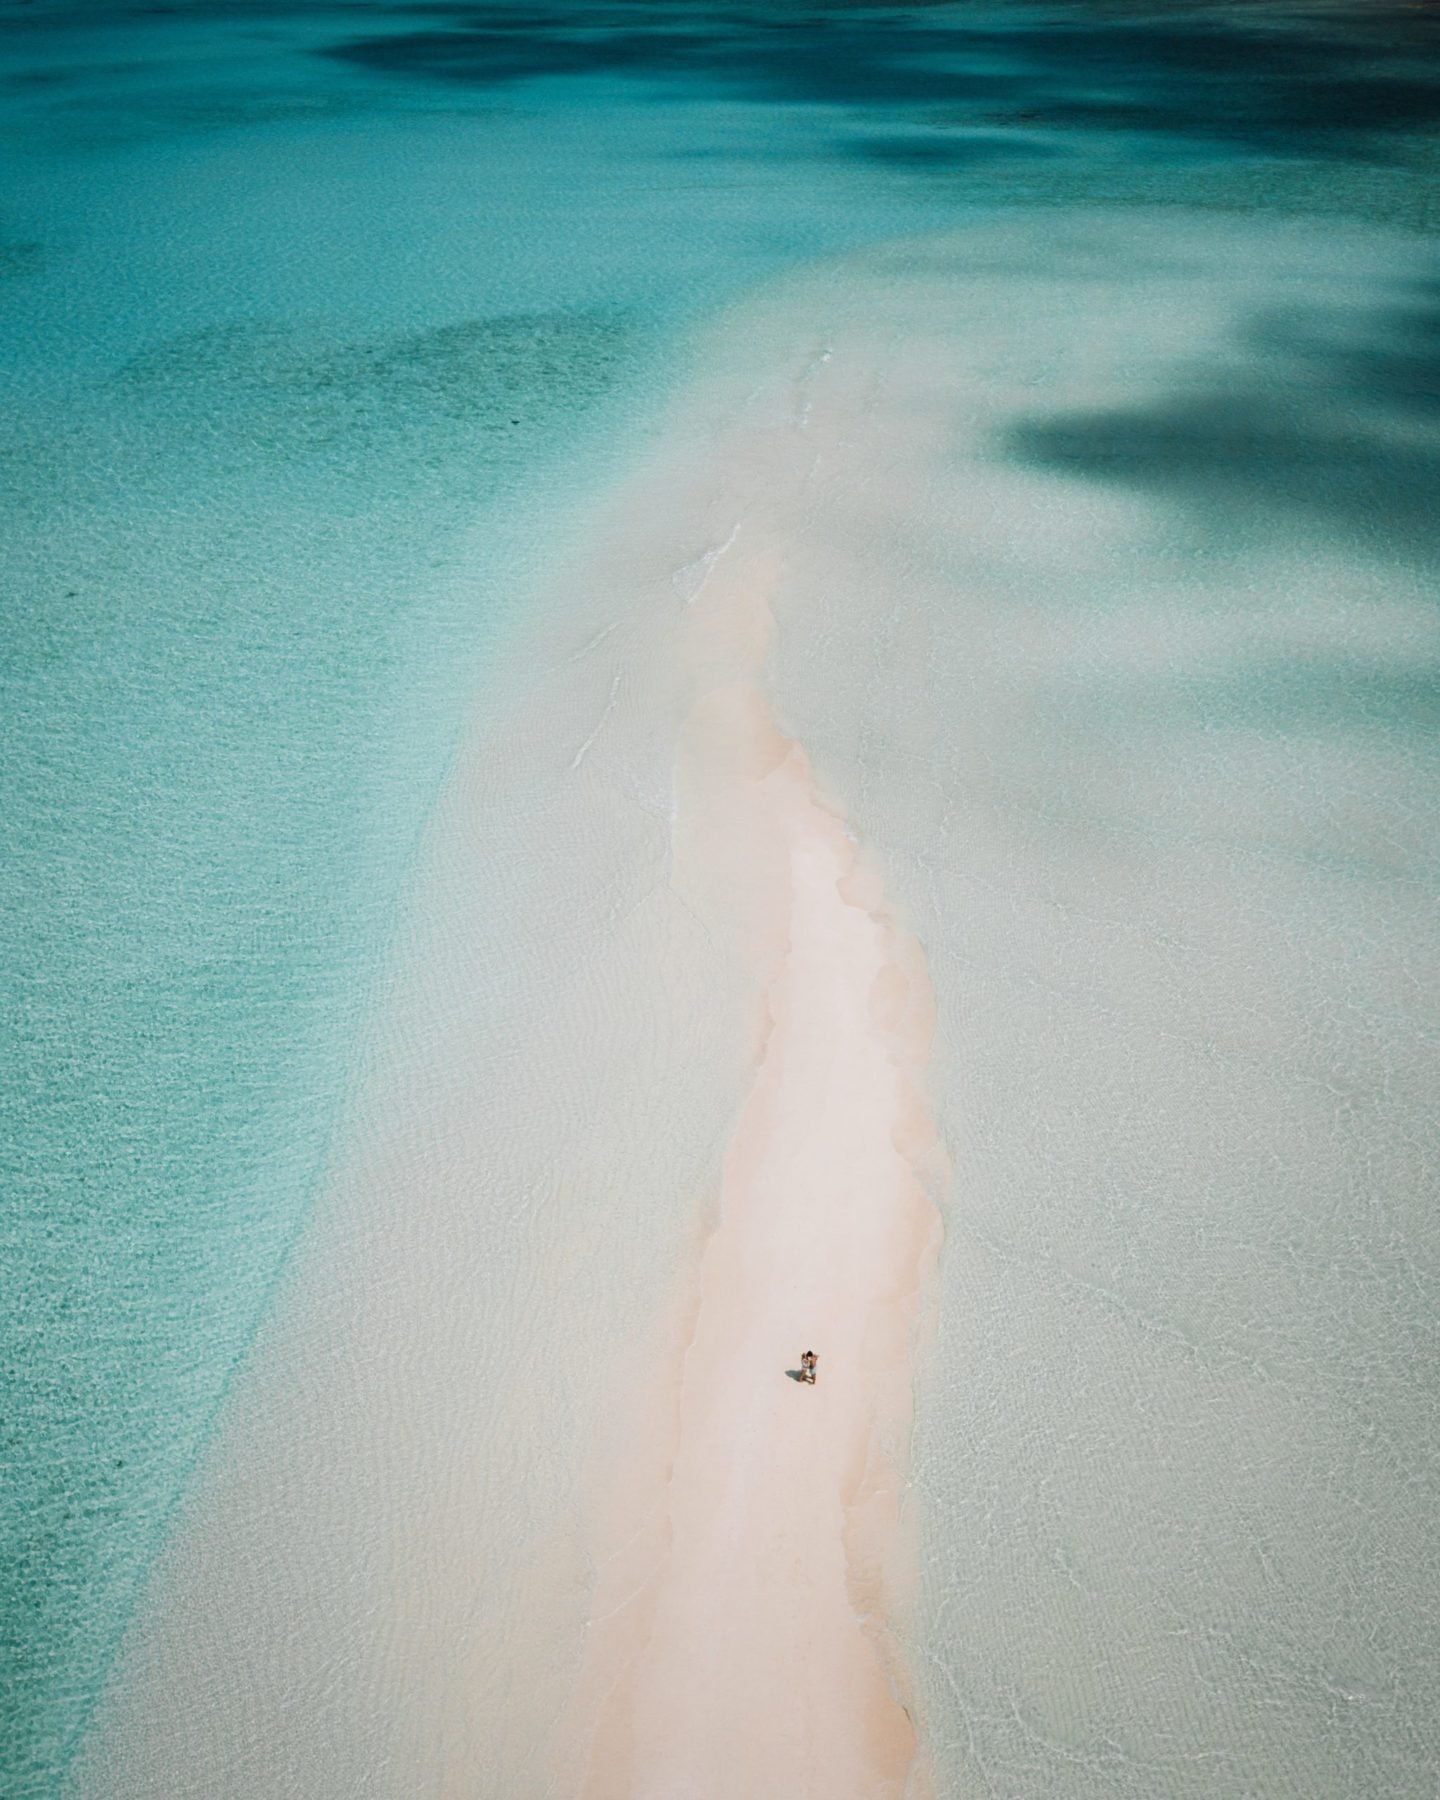
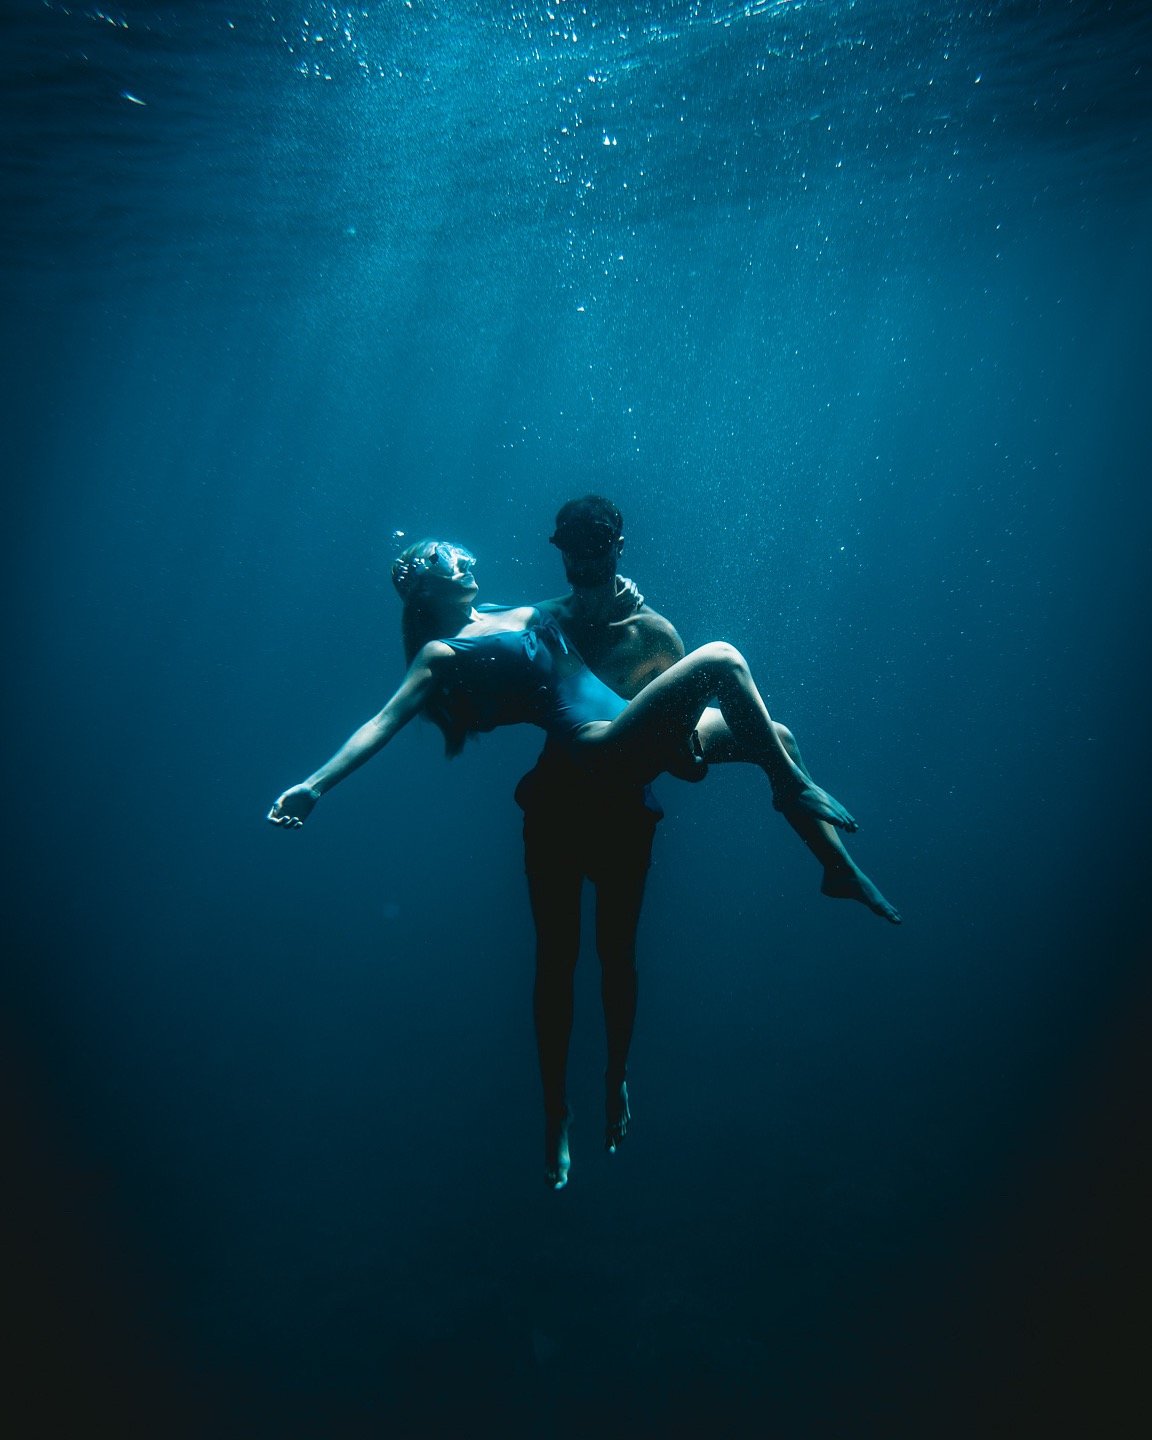
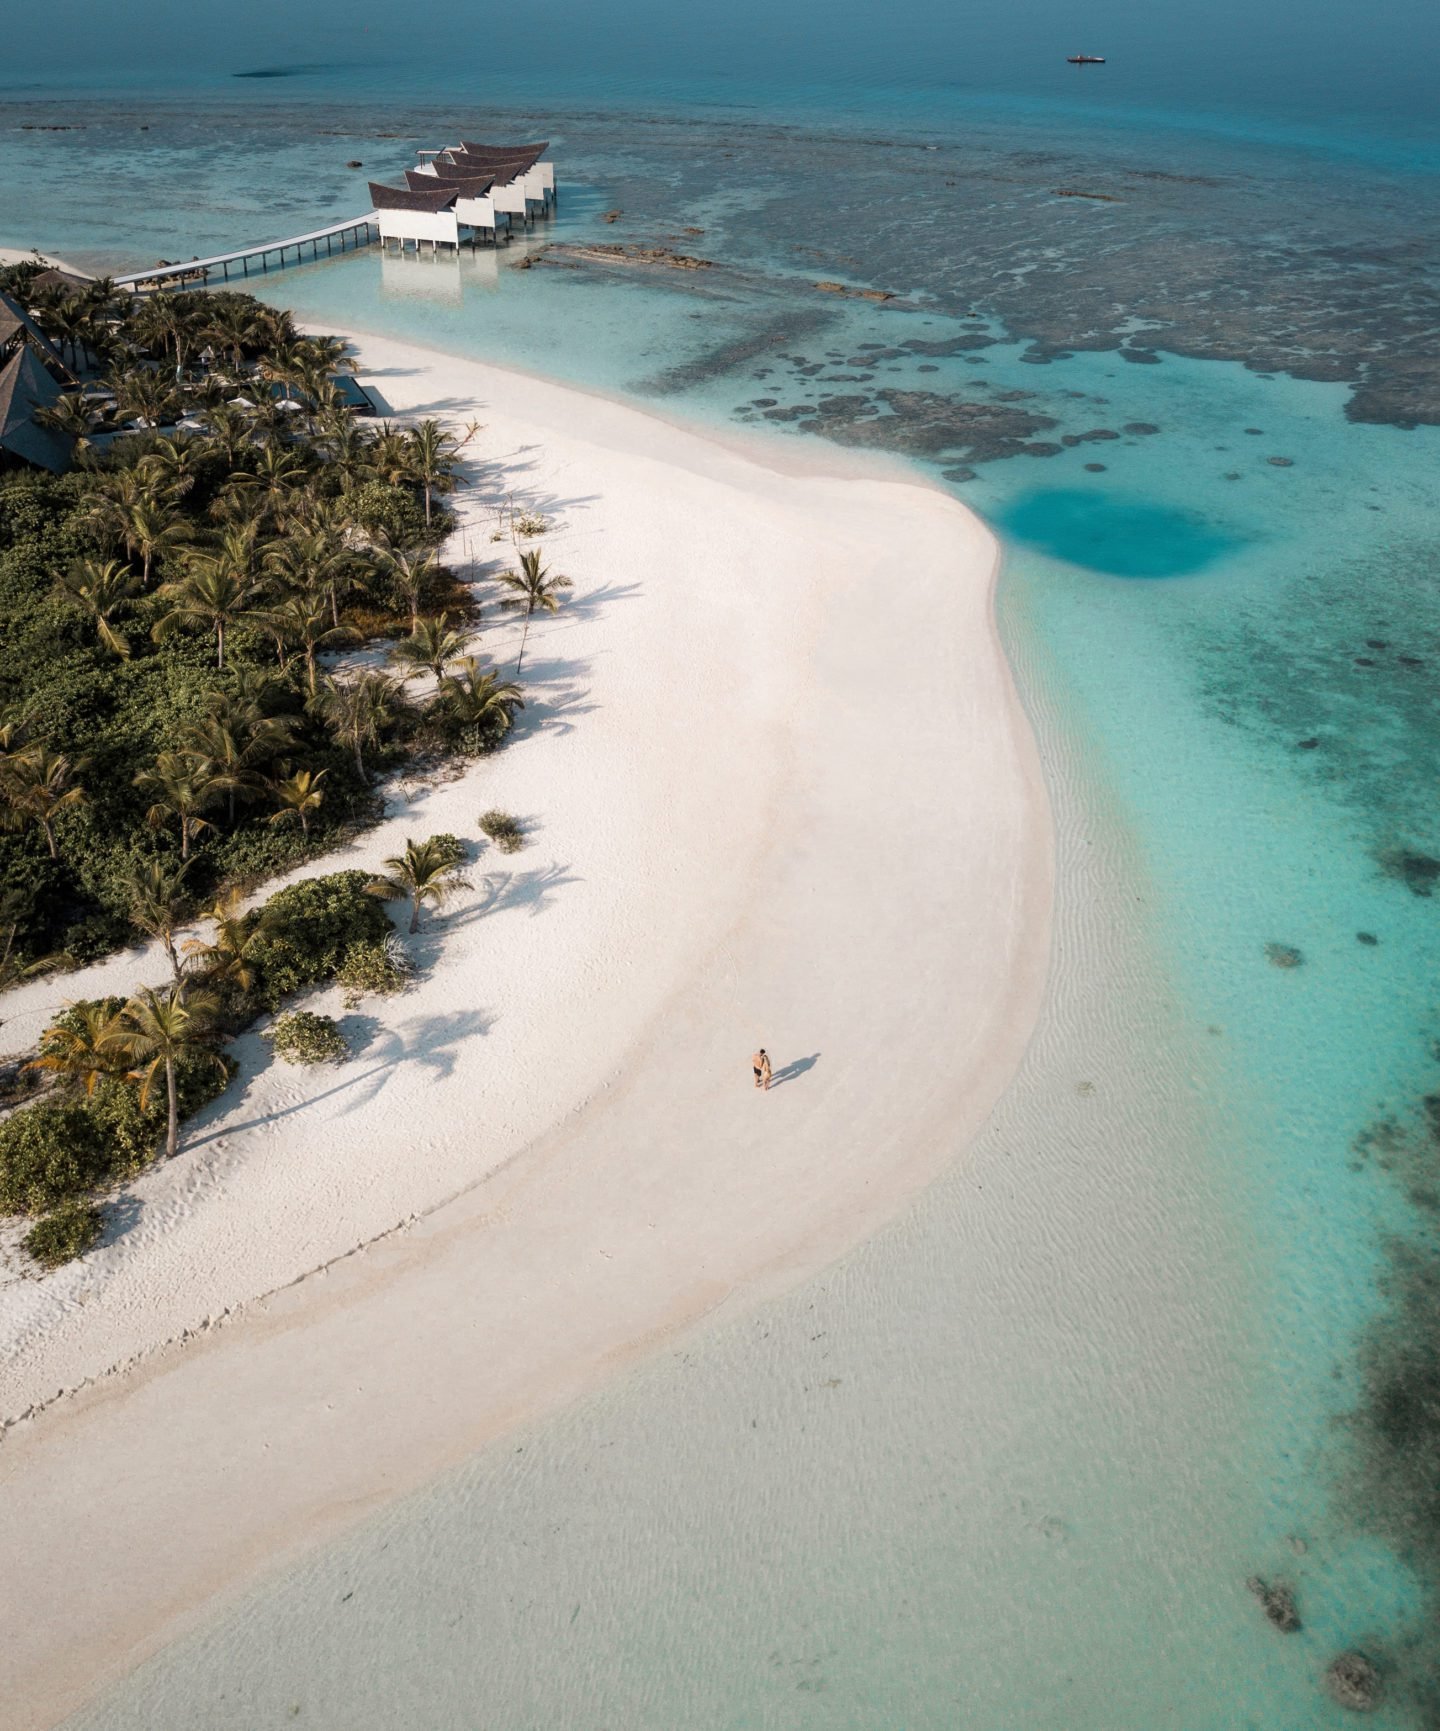
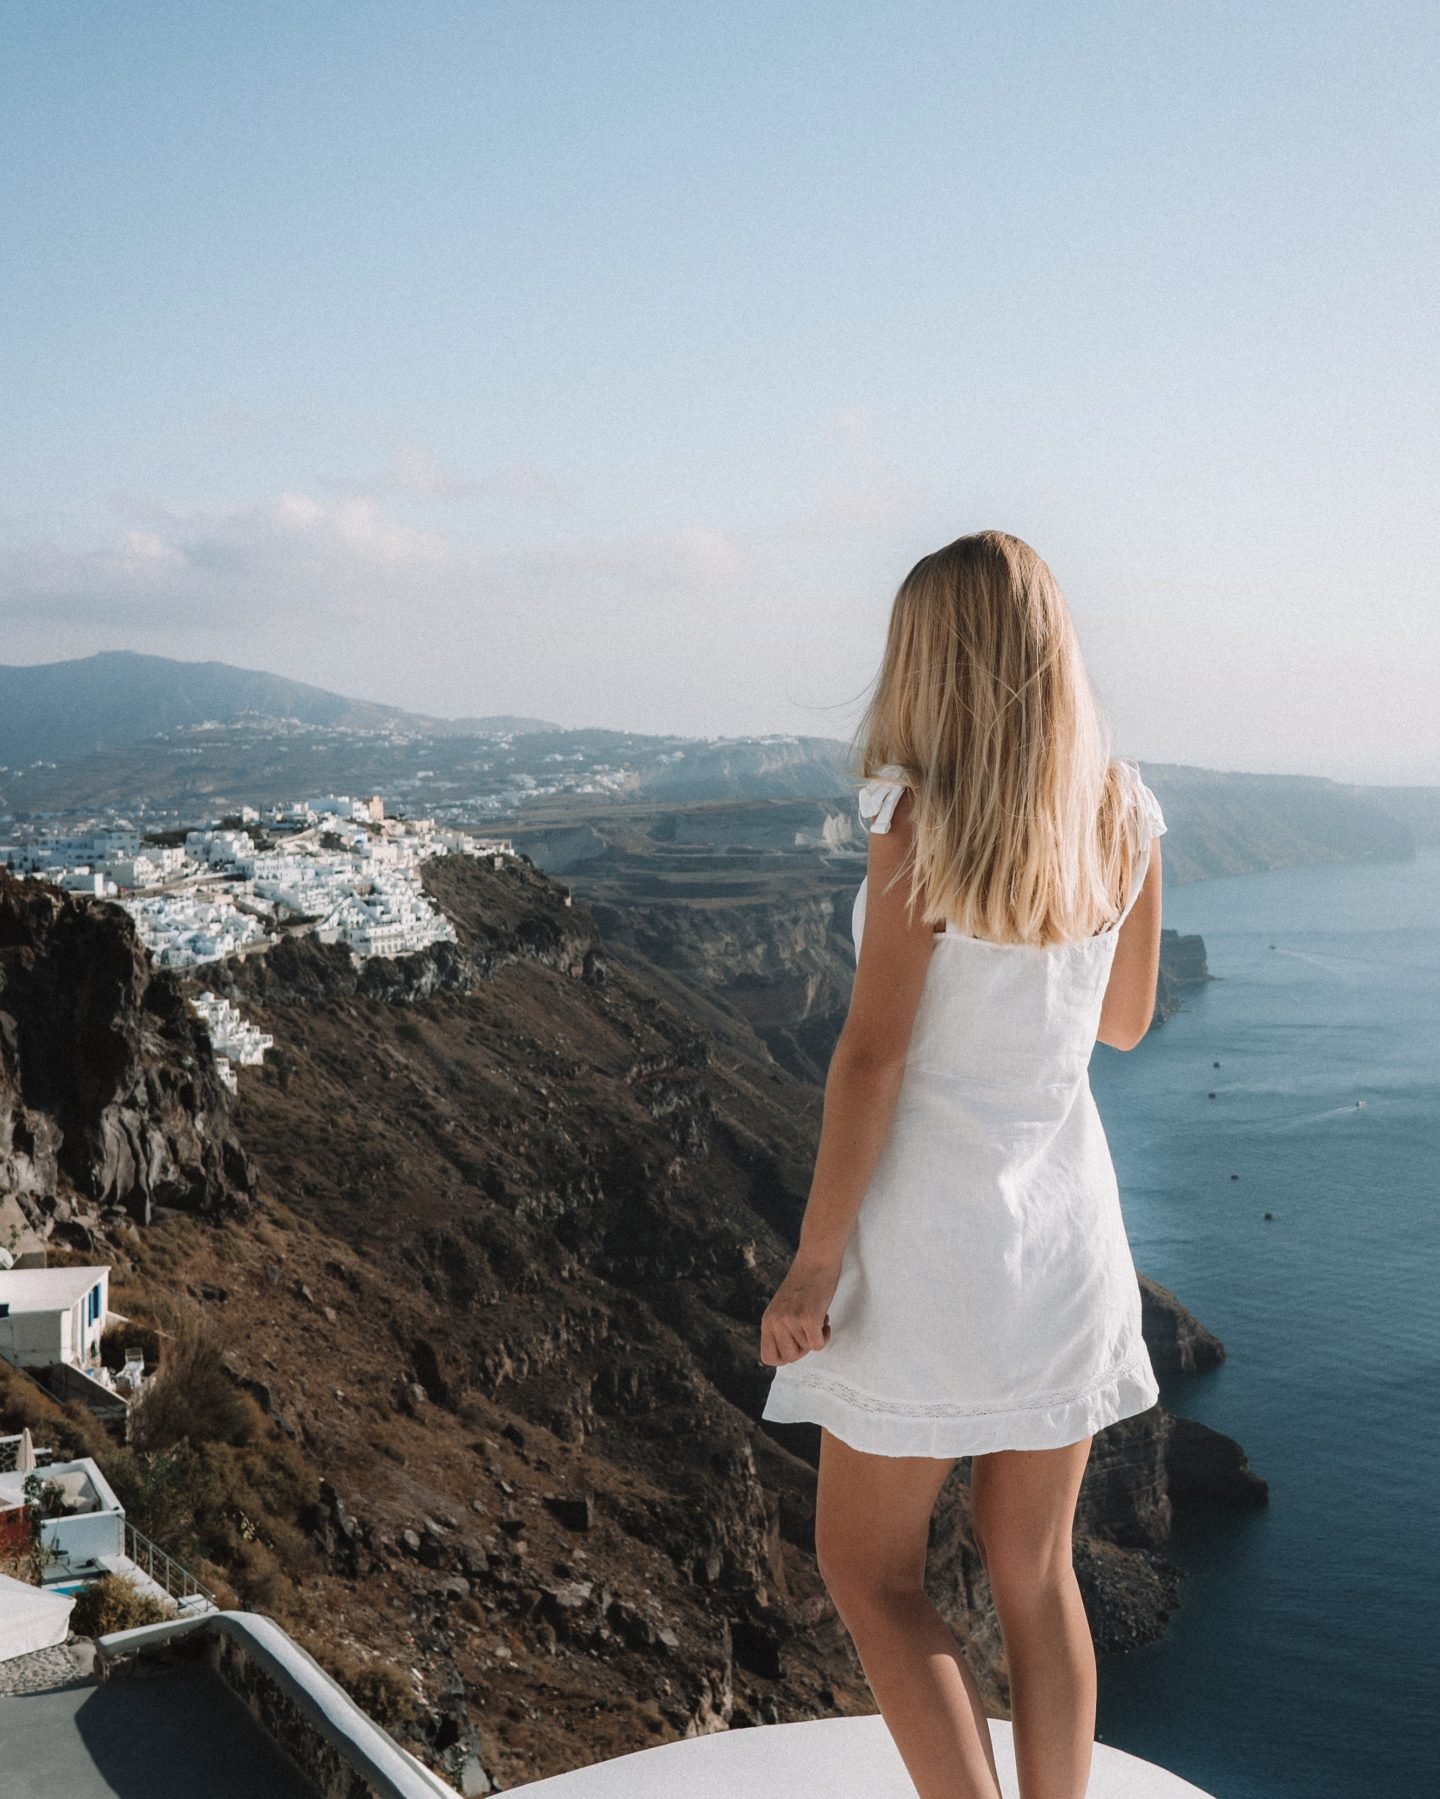
You can see here on my Instagram account @chiarabarrasso that my photos are really different from each other, I have photos from the desert, from beaches, forest or architecture. But they look great together and are harmonious because I’m always using the same Lightroom presets I have created. Personally, I love vintages vibes and pastel colors! Obviously I’m making a few changes for every different photo to adapt the preset to the scene, the lighting, the colors.
Who can use Lightroom?
In the very beginning, Lightroom was a professional software made for photographers. But nowadays, everyone can buy presets to professional photographers and creators and edit photos like them!
By the way, if you want to edit your photos like us, you can shop for our lightroom presets here! These are the ones we are using on all our photos. But you need to know that applying a preset to a photo is not always sufficient. You need to adapt a few parameters to make the preset look great on YOUR photo.
The first reason is that every photo is different from each other: the scene, the lighting, the hour of the day is not the same. You can not have the same exact final effect even if it is the same kind of photo and even if it is taken at the exact same place. Once you have applied the preset, you need to make some changes to make it great on your photo.
What is the cost of Lightroom?
Lightroom mobile
Also, you need to know that Lightroom for mobile is totally free. You just have to download the free app on your phone. But if you want to apply presets on your photos, you will have to buy these presets. Or you can create yours by changing the parameters of Lightroom how you like it. Lightroom for mobile is a really nice option if you just want to edit phone photos, selfies or food photos quickly.
Lightroom for desktop
Contrary to Lightroom for mobile, Lightroom for desktop is really much developed than for mobile and need a monthly subscription. There are many more options on Lightroom for desktop. You can subscribe to an Adobe pack including Photoshop, Lightroom, Premiere Pro (for videos), In design and so on. The price is depending on which pack you will choose. If you only want to subscribe to Lightroom it is around 10$ per month. You can subscribe to Adobe here.
How to download and import a preset on Lightroom
For desktop
It is really easy to install a preset for Lightroom CC for desktop. First of all, when you purchase a preset, you will usually receive an email with a ZIP file including the presets. You need to know that both mobile and desktop presets need to be installed on your desktop and downloaded on your computer before you can install them on your phone.
Then, once you have downloaded the ZIp file, unzip it and click on the file that comes with it. This .lrtemplate is your preset. You just need to import it directly to lightroom.
For mobile
It is a little bit more complicated on mobile. I will make another post soon about how to install Lightroom presets on mobile!
Choosing the right Lightroom preset
Usually, when you purchase presets, you purchase a pack including different presets. Once you have installed the presets on Lightroom, you just need to upload a photo on Lightroom and then go to Development -> personalized -> user predefined settings. Usually, you will find all the presets here. You can now choose the best one for your photo! Once you have applied the preset, you need to make some changes and make it look great on your photo!
How to adapt a preset to your photo?
The white balance
Temperature
This parameter is really important because it will define the global look of your photo. This is related to the white balance. It will change how cool or warm are the colors in your photo. When the white balance has not worked on your camera, your photo can be too warm or too cool. This happen when there is no white on the photo or when the lighting is made with candles or lamps. If you want to learn more about the basics of photography, the white balance, the aperture, the shutter speed or the ISO read our post about “how to set up your camera and start shooting“
Tint
You can change the tint when you want to adjust the global colors of the photo and make it greener or more purple. If your photo is too green move the slider at the right. On the contrary, if your photo looks too purple, move the slider to the left. Usually, I don’t change much of this parameter. The colors quickly become too green or too purple.
The Tint slider in Lightroom is a way to correct for “off-axis” color balance issues that are usually provoked by gas-emission lighting or any form of non-standard lighting. Generally, color balance corrections will be done primarily with the Color Temperature slider, with minor adjustments to the Tint slider.
The lighting
Exposure
The exposure is the first parameter to change. You can adjust the exposure to the context of your photo and how you want it to look like. This will control the brightness of your photo. Indeed, if your photo is over-exposed if you have taken this photo with a strong light, move the slider to the left to make it darker. On the contrary, if the photo is underexposed, if you have taken the photo with low light, or inside, you can slight to the right to make it brighter.
Contrast
The contrast will help you to define the contrast between the light and dark colors in your photo. If you want a stronger, more dramatic look to your photo, up the contrast. On the contrary if you want to make your photo softer, slow down the contrast.
Highlights
With the highlight slider, you can bring back details in the brightest area in moving to the left. Or you can brighten highlights while protecting against clipping in moving to the right.
Shadows
This one will help you to control how dark are the shadows on your photo. If you want to darken the shadows, slide the highlights to the left and if you want to remove the shadows, slide it to the right.
Whites
The white slider will set the white point of the image. When the whites are not really white but grey, and you want to make them pop on the photo, move the slider to the right. It is really useful when your object includes a white color: an animal, an item of clothing, a flower…
Blacks
This is the complete opposite of the white slider. The Black slider will set the black point of the photo. To make the dark colors pop, slide to the left and to calm them, slide to the right.
The intensity of the colors
Vibrancy
With the vibrancy slider, you can increase the saturation of lower-saturated (or muted colors) more than higher-saturated colors. This can help you to edit skin tones and make it look natural.
Saturation
The saturation slider will simply help you to pop the colors, in sliding to the right. Or at the contrary calm down the colors in sliding to the left.
The style of the colors
Luminance
The luminance will help you to define how bright or dark will be the colors. You can change it for every color: red, orange, yellow, green, blue-green, blue, purple and magenta. If you slide a color to the left, the color will be more intense. On the contrary, if you slide to the right, the color will be brighter.
Saturation
This is exactly the same thing for the saturation. If you slide to the right, a color will be more saturated. You can do it for the blue when it’s a beach photo or the greens when the photo has been taken in a forest. On the contrary, when a color is too saturated, slide to the left to calm it down.
Hue
The hue is particular: this one will help you to choose how you want to colors looks like. You can choose the hue for all the colors. For example, you can choose how pink or how orange the red will be. Another example is that you can choose how purple or green your blue will be. Basically, it is like a painting. If you add yellow to the blue, it will be greener, and on the contrary, if you add red, the blue will be more purple!
This one is really important because it will help you to define the style of your photo: pastel colors, vintage vibes or saturated and pop colors? Everyone has their own style!
Are you ready to edit your photos on Lightroom?
We really hope this post will help you to edit your photos with lightroom presets and that you are now able to create travel photos! let us know in the comments 😉 You can see all our photos on Instagram! @chiarabarrasso @jelafaille

